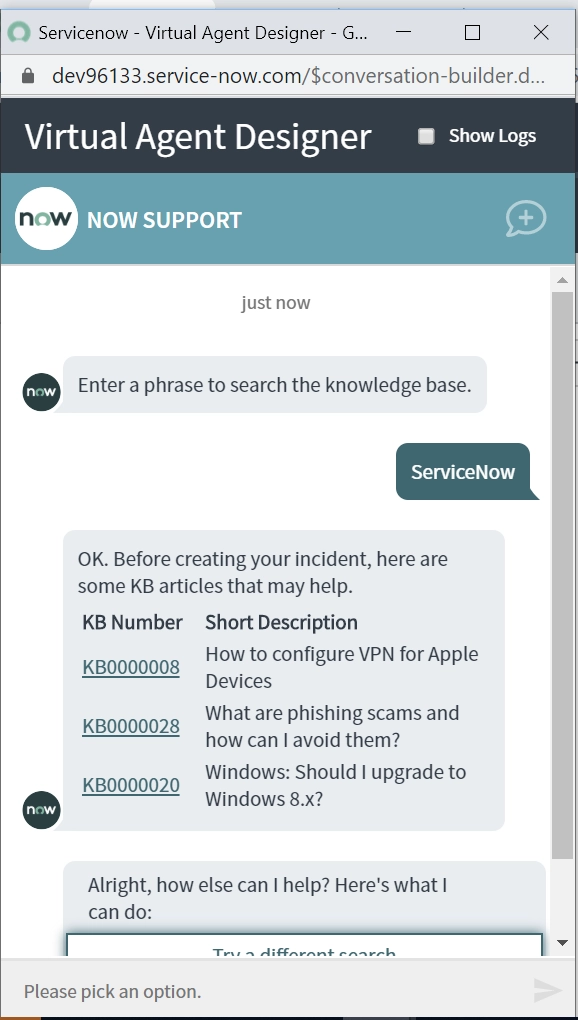
After working on Virtual Agent for a long time now we have realized it is a great plugin and we want to share this knowledge and lessons we learnt during all this time to ease your work. we’ll guide you through Virtual Agent Best Practices, Tips and Tricks and will go through the docs with a more simple language.
If you had ever visited this page on ServiceNow Docs, you as well might have seen this picture :
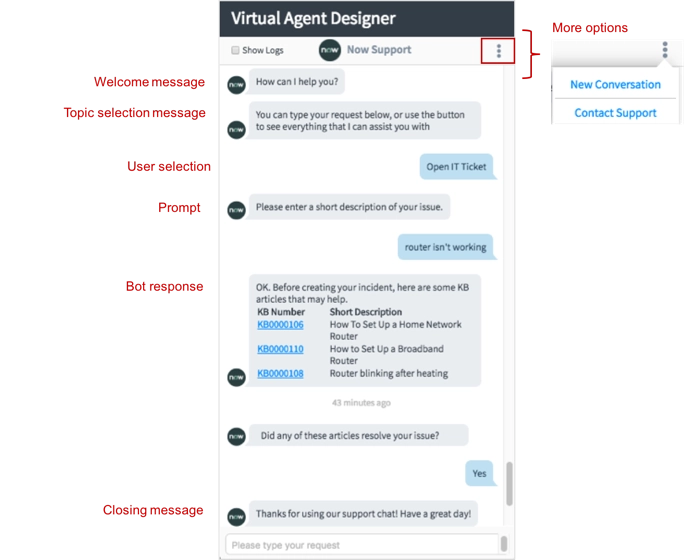
Have a look at Knowledge results shown in the above screenshot. It contains Article Numbers. But How the results are actually displayed using Virtual Agent? Have a look at below screenshot from a OOTB Topic ‘Search Knowledge Base’ (Provided with ‘ITSM Virtual Agent Conversations’ Plugin) :
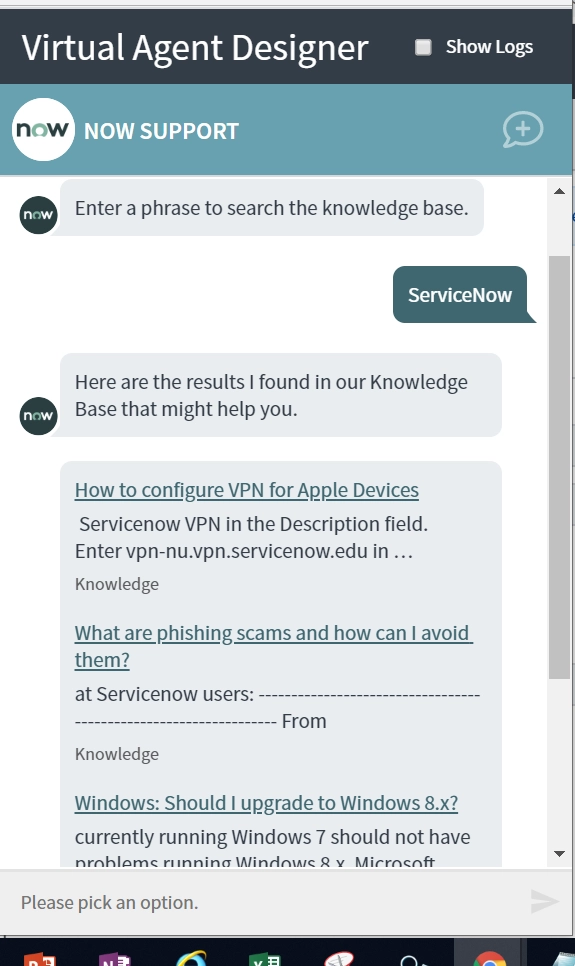
Yup. There are no article numbers when used OOTB search.
We had the requirement to make our knowledge search like one shown in the above screenshot. So are you ready to see how did we achieve it?
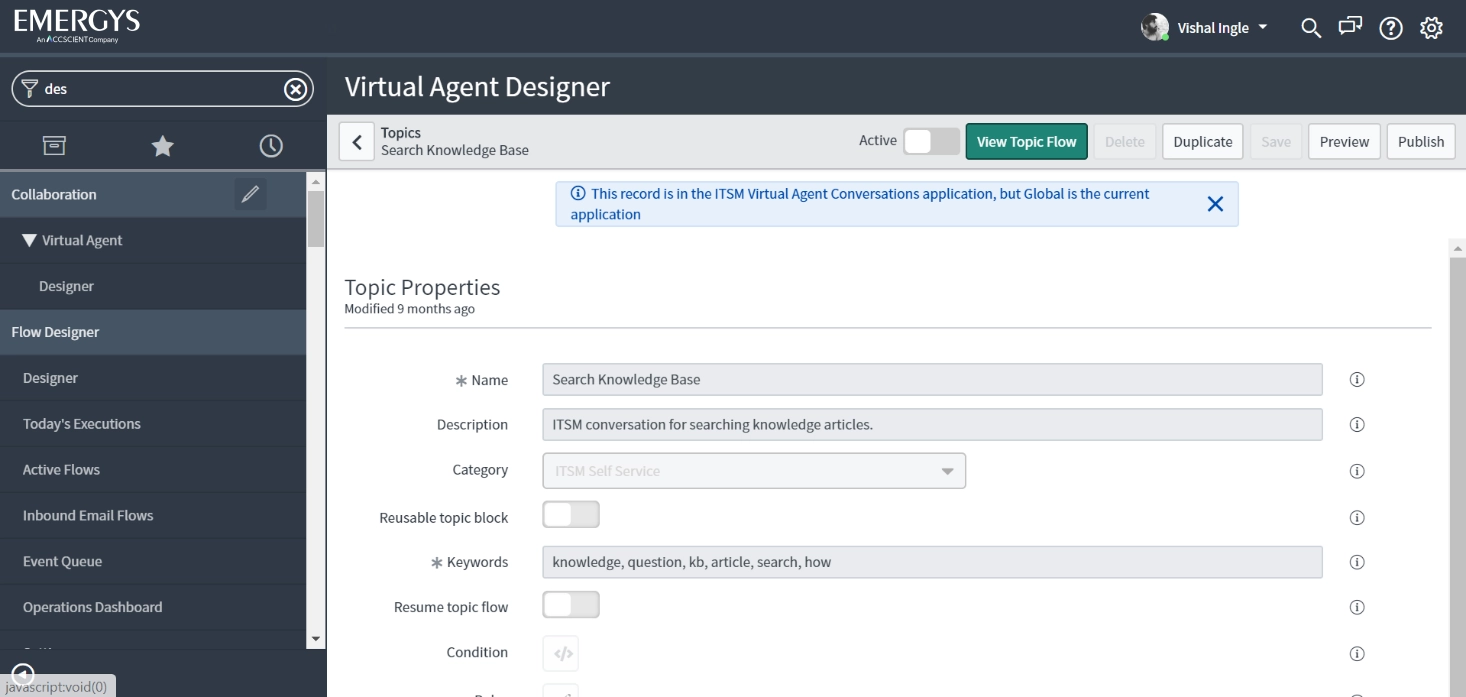
Step 1) Search for the existing OOTB Topic and Open It.
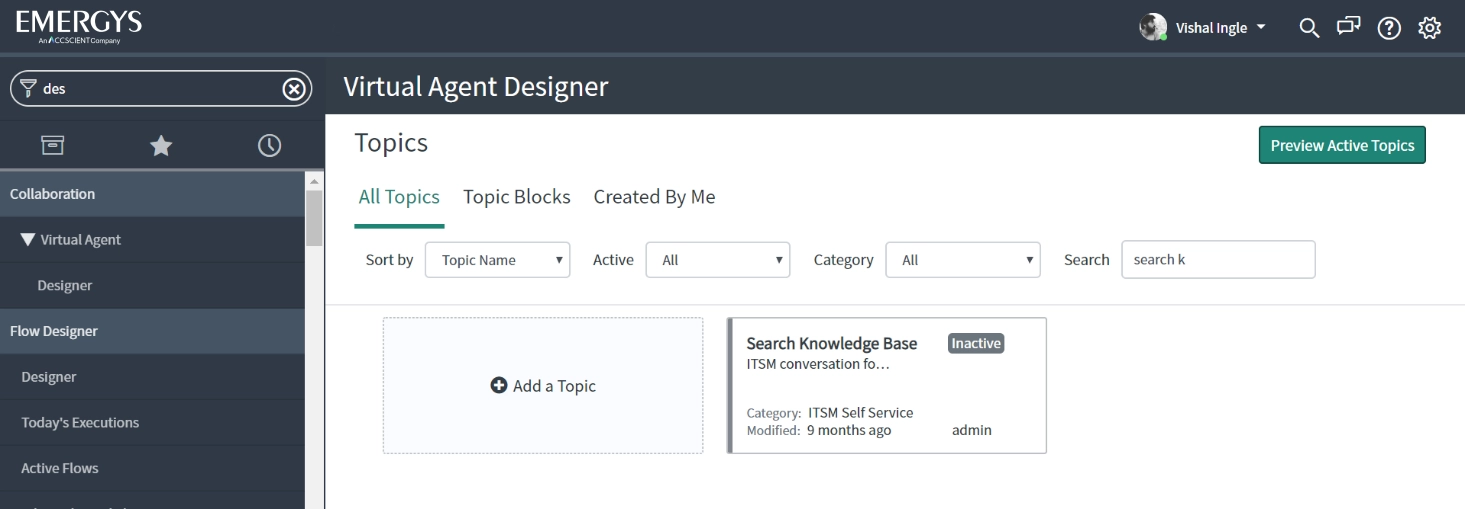
Step 2) Click ‘Duplicate’.
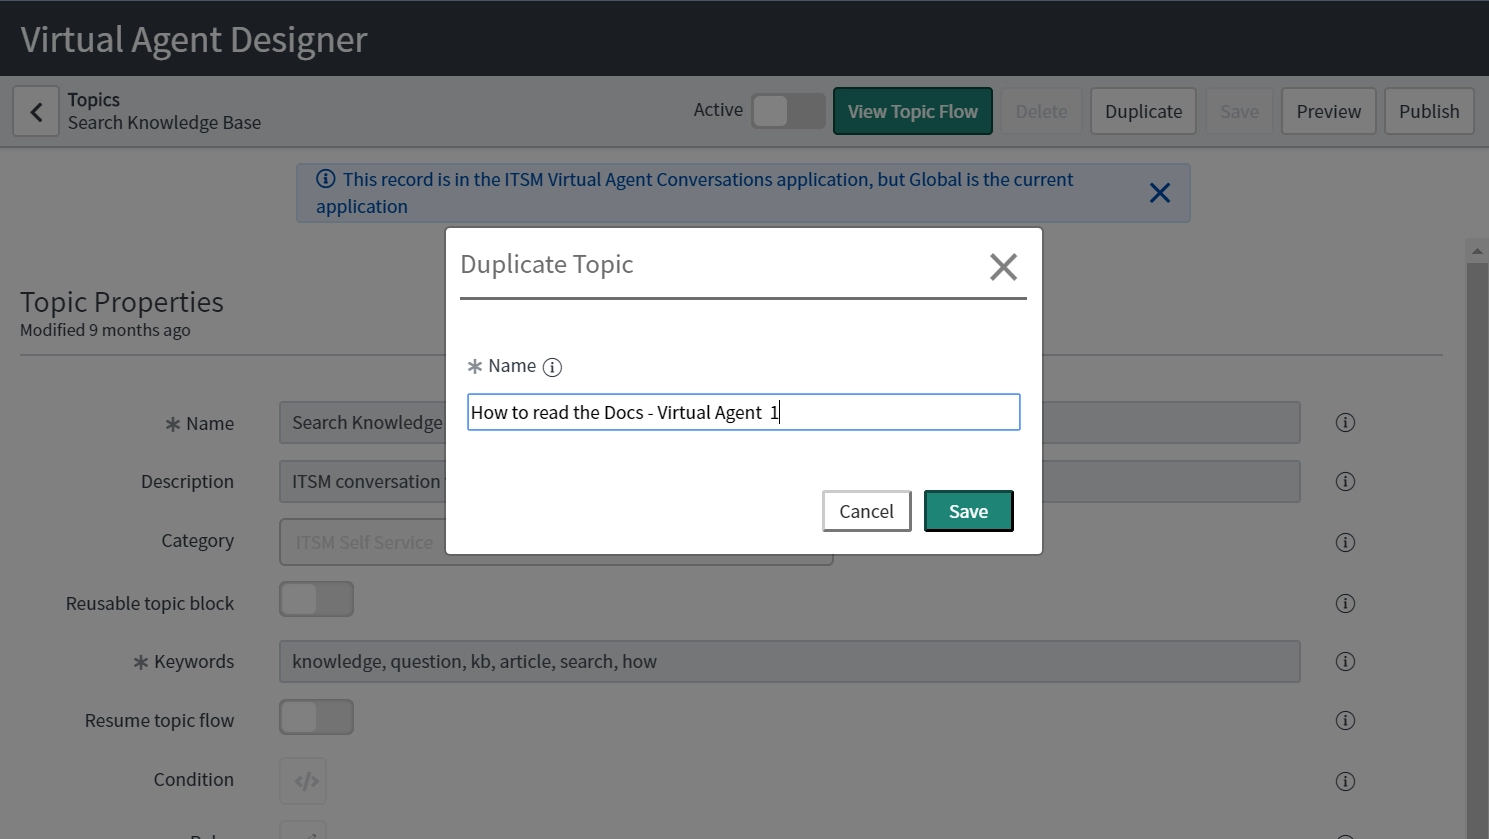
Step 3) Give it a unique name and click ‘Save’.
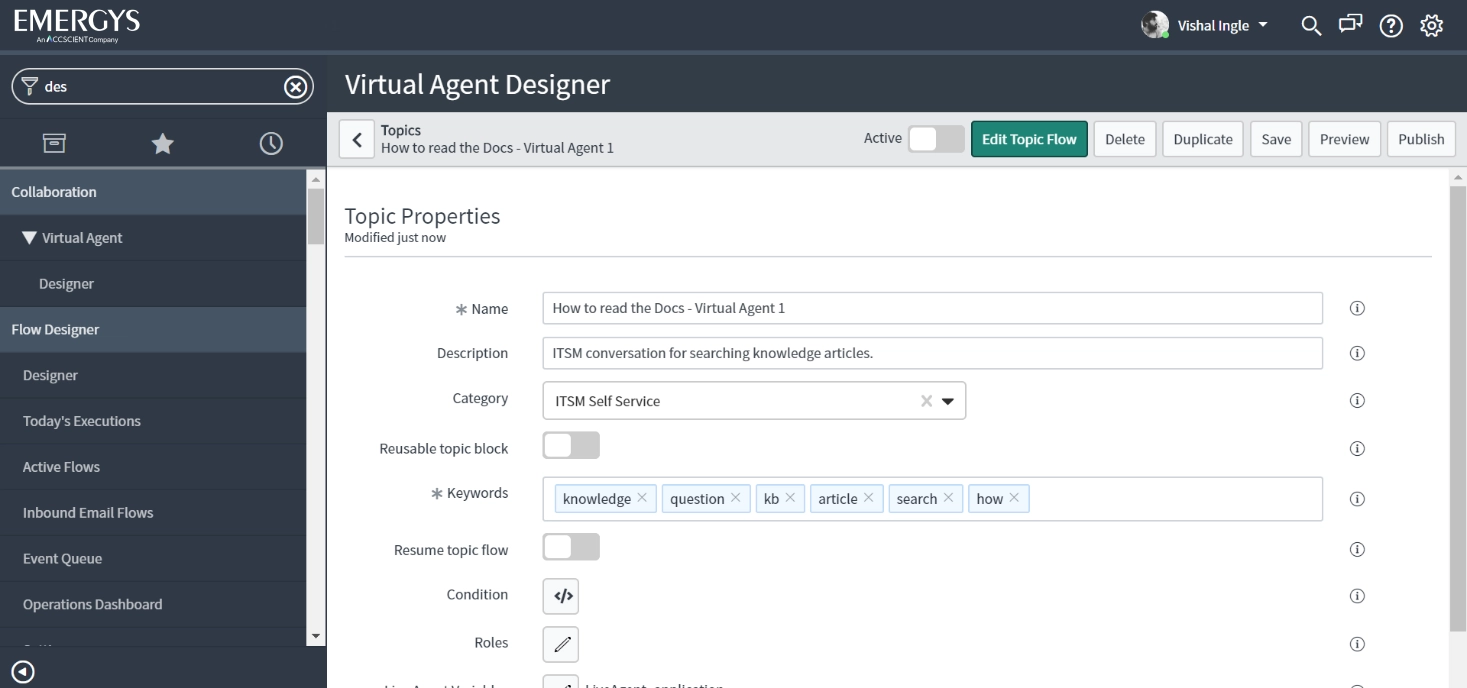
Step 4) Click ‘Edit Topic Flow’ in newly created Topic Properties Page.
Step 5) In the designer canvas, locate the bot response ‘Display KB(s)’ that display’s knowledge results.
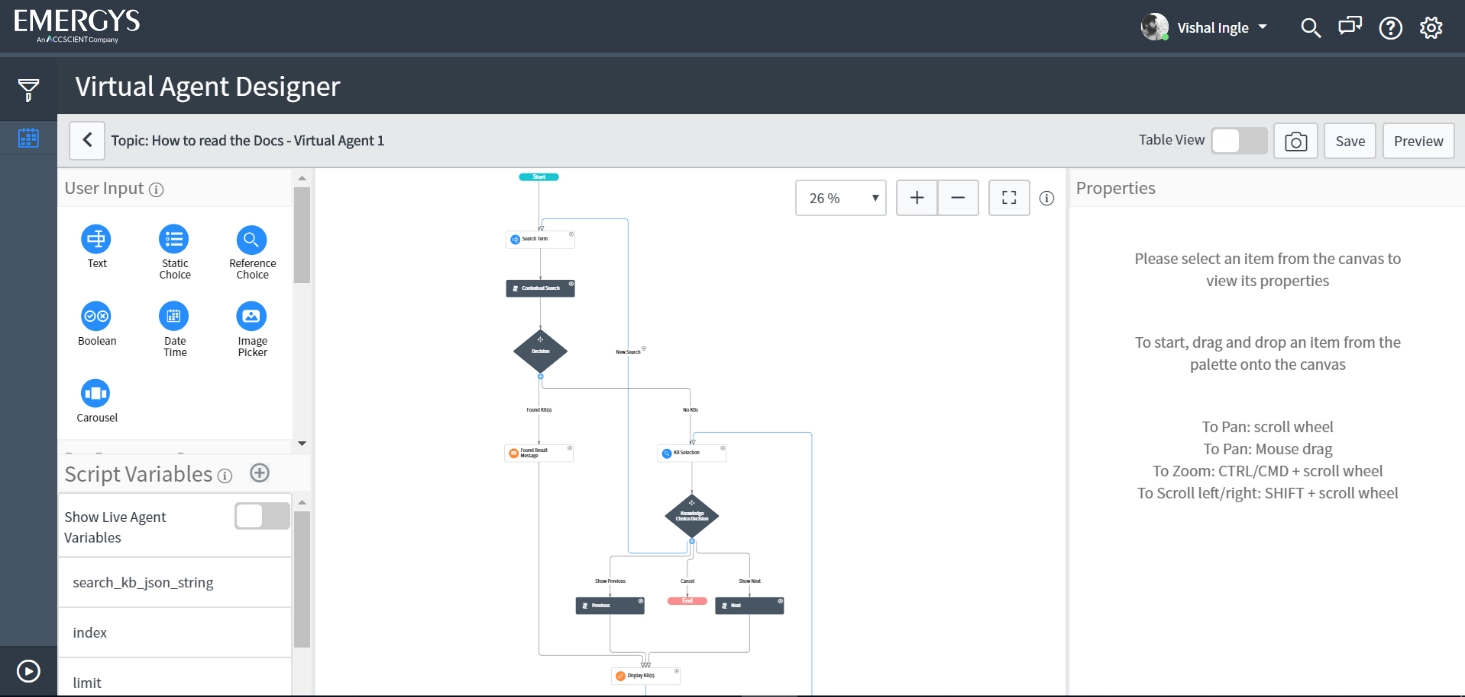
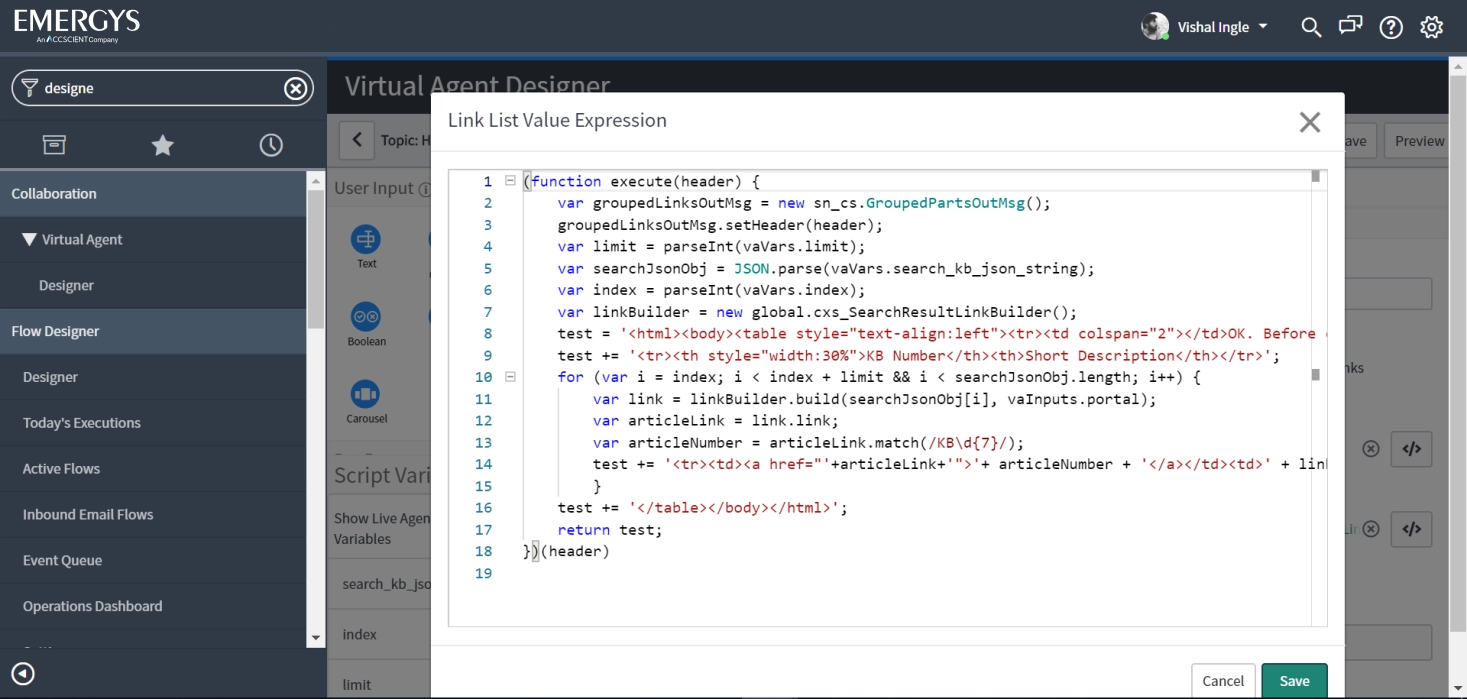
Step 6) Open ‘Link List Value Expression’ script from response properties.
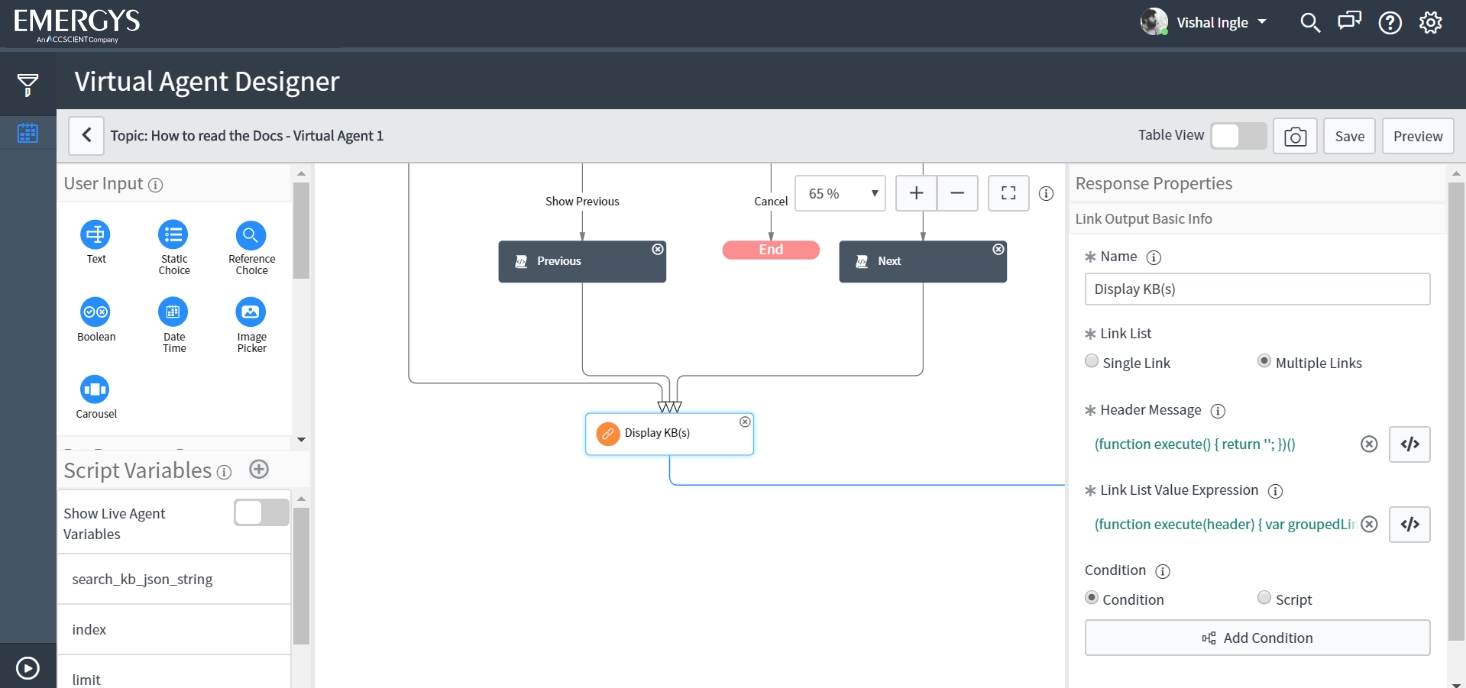
Step 7) Replace the OOTB Script with the Script given below and click ‘Save’ :
(function execute(header) {

var groupedLinksOutMsg = new sn_cs.GroupedPartsOutMsg();

groupedLinksOutMsg.setHeader(header);

var limit = parseInt(vaVars.limit);

var searchJsonObj = JSON.parse(vaVars.search_kb_json_string);

var index = parseInt(vaVars.index);

var linkBuilder = new global.cxs_SearchResultLinkBuilder();

test = 'OK. Before creating your incident, here are some KB articles that may help.';

test += '';

for (var i = index; i < index + limit && i < searchJsonObj.length; i++) {

var link = linkBuilder.build(searchJsonObj[i], vaInputs.portal);

var articleLink = link.link;

var articleNumber = articleLink.match(/KB\d{7}/);

test += '';

}

test += '

< table style="text-align: left;" >

< tbody >

< tr >

< td colspan="2">< /td >

< /tr >

< tr >

< th style="width: 30%;">KB Number< /th >

< th >Short Description< /th >

< /tr >

< tr >

< td >< a href = "'+ articleLink + ' " >'+ articleNumber + '< /td >

< td >' + link.label + '< / td >

< / tr >

< / tbody >

< / table >

';

return test;

})(header)
Step 8) Locate the Bot Response ‘Found Result Message’ and delete it.
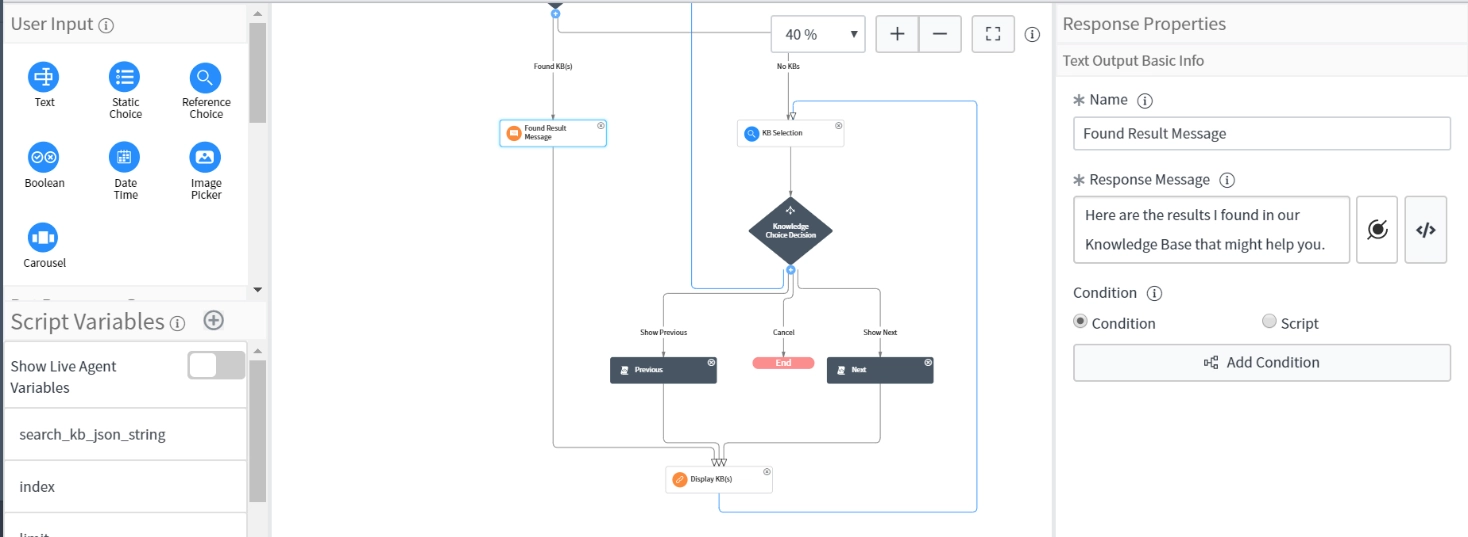
Congratulation, You have created a customized Incident Display Card. Now all you need to do is add your custom topic block to the Topic.
Follow the Steps given here, to add our customized topic block to the Topic. Once you perform the steps mentioned in this link you can see the result.
